Tuesday, January 29, 2019

Party Panda Valentine Cards

Over the weekend, I started to make some Valentine Day cards for the girls.  I think this stamp set is so cute and when I checked Pinterest they had such cute cards made for Valentine's Day.  This card came together pretty quick.  I used Real Red, Basic Black and Whisper White CS.


It looks like the little panda is just floating by with Valentine wishes!!  I used my large circle embossing folder for my layer.


It is hard to tell, but I used some rhinestones on his eyes to brighten him up, as well as, some silver glimmer paper for one of the balloons.


I used SU's stamp set Sealed with Love for my sentiment inside.  I really like the old SU Valentine stamp sets.  It has started to snow here this AM.  We are suppose to get 5-8" of snow today.  I hope they are wrong.  Along with the snow we are scheduled for below zero temps.

This weekend Jennifer and her Mom came to visit and we out together all her goodie bags for her classmates and her teachers.  Her school assignment for this week was to put together a shirt to celebrate 100 days in school.  Here is the shirt she designed.  It's hard to see, but there are 100 items - believe me!!  Mom used the hot glue!  She was so happy with how it turned out and can hardy wait to wear it on Friday.


Thanks for stopping by,

Nancy

I entered this post over at CardzTV Challenge - #82 - Anything Goes. and Crafty Creations Challenge #383 - Anything Goes.

Thursday, January 24, 2019

Valentine Covered Containers

I'm back today with some cute containers that I covered for Jennifer's teachers for Valentine's Day.  In the past, I have covered some small - coffee cups for Halloween for Jennifer's classmates, but decided to get some bigger containers with flat lids to make for her teachers.  I just loved how they turned out.


I found these containers at Hobby Lobby.  They were the only ones with lids.  They came 5 to a package.  I needed to take one apart to use as a template which I will keep for future use.


I made a template out of cardboard extending it about 1/4" so I would have a hangover.  Then I traced it on some DSP and using my green glue I wrapped each of the containers.  Since each container is not a perfect size there was a little extra on the bottom which I just cut off.


 Then for the lid I used my Spellbinders Scallop Circle die.  I also had some washi tape in my stash and I decorated each rim. 


I used the Heart Happiness stamp and the Sweet & Sassy Framelits to cut them.


I then added some 1/4" ribbon to the lid and secured the heart.  I forgot to take a picture, but I found some little enamel hearts that I added to the lid just to dress them up.  I loved how they turned out and they came together so quick and easy.


Jennifer is coming up this weekend, and we will fill them with candy hearts for her teachers and dress them all up in some in Valentine bags to hand out.

Thanks for stopping by,

Nancy


Monday, January 21, 2019

Blooming Love Valentine Card

No one felt like going outside over the weekend with all the snow, cold and ice, so I started making some Valentine cards. Fortunately, we didn't lose our power.  I am a big fan of eclipse cards, so when I saw this over at Pinterest I knew I had to CASE it.  For the measurements, I cut Real Red 4 1/4" x 11"  and scored it at 5 1/2".  The measurements for the Basic Black are - 3 1/8" x 4 7/8" and Whisper White is 3" x 4 3/4". 


I used SU's Blooming Love stamp set and stamped the larger heart in Real Red offset to each other.  Then using my Large Letter Framelits, I cut out LOVE.  I liked the fact that each letter had some stamping on it.  I first adhered the Whisper White to the Basic Black and then used my foam adhesive strips to pop up the letters gluing down the space in the O last.  These adhesive strips are a must have when making these cards!


I love these colors together.  For the inside sentiment, I used the Sealed with Love SU stamp set and decorated the bottom with another Blooming Love stamp.


For once, I feel like I'm moving right along.  Jennifer and her friends and teachers are finished, I started some cards and actually know what I'm going to make the Wellness Center.  Yeah!!  It is so bitter cold here, but I have to admit it looks so pretty outside - as long as I'm inside!!

Thanks for stopping by,

Nancy


Friday, January 18, 2019

Valentine Heart Puzzle

This post is a follow-up to the post earlier this week when I made the Valentine boxes for Jennifer's classmates.  She was so excited when I showed her what I was going to put in them.  Today you have to be so careful about giving out goodies at daycare, schools, etc.  Too many allergies, etc.  It is always hard to come up with something, but when I saw this adorable Valentine puzzle I knew it would be perfect.  I saw these on one of Jennifer's McGuires's videos .  She did a bunch of different ideas, but I thought the heart would be perfect for the kids.


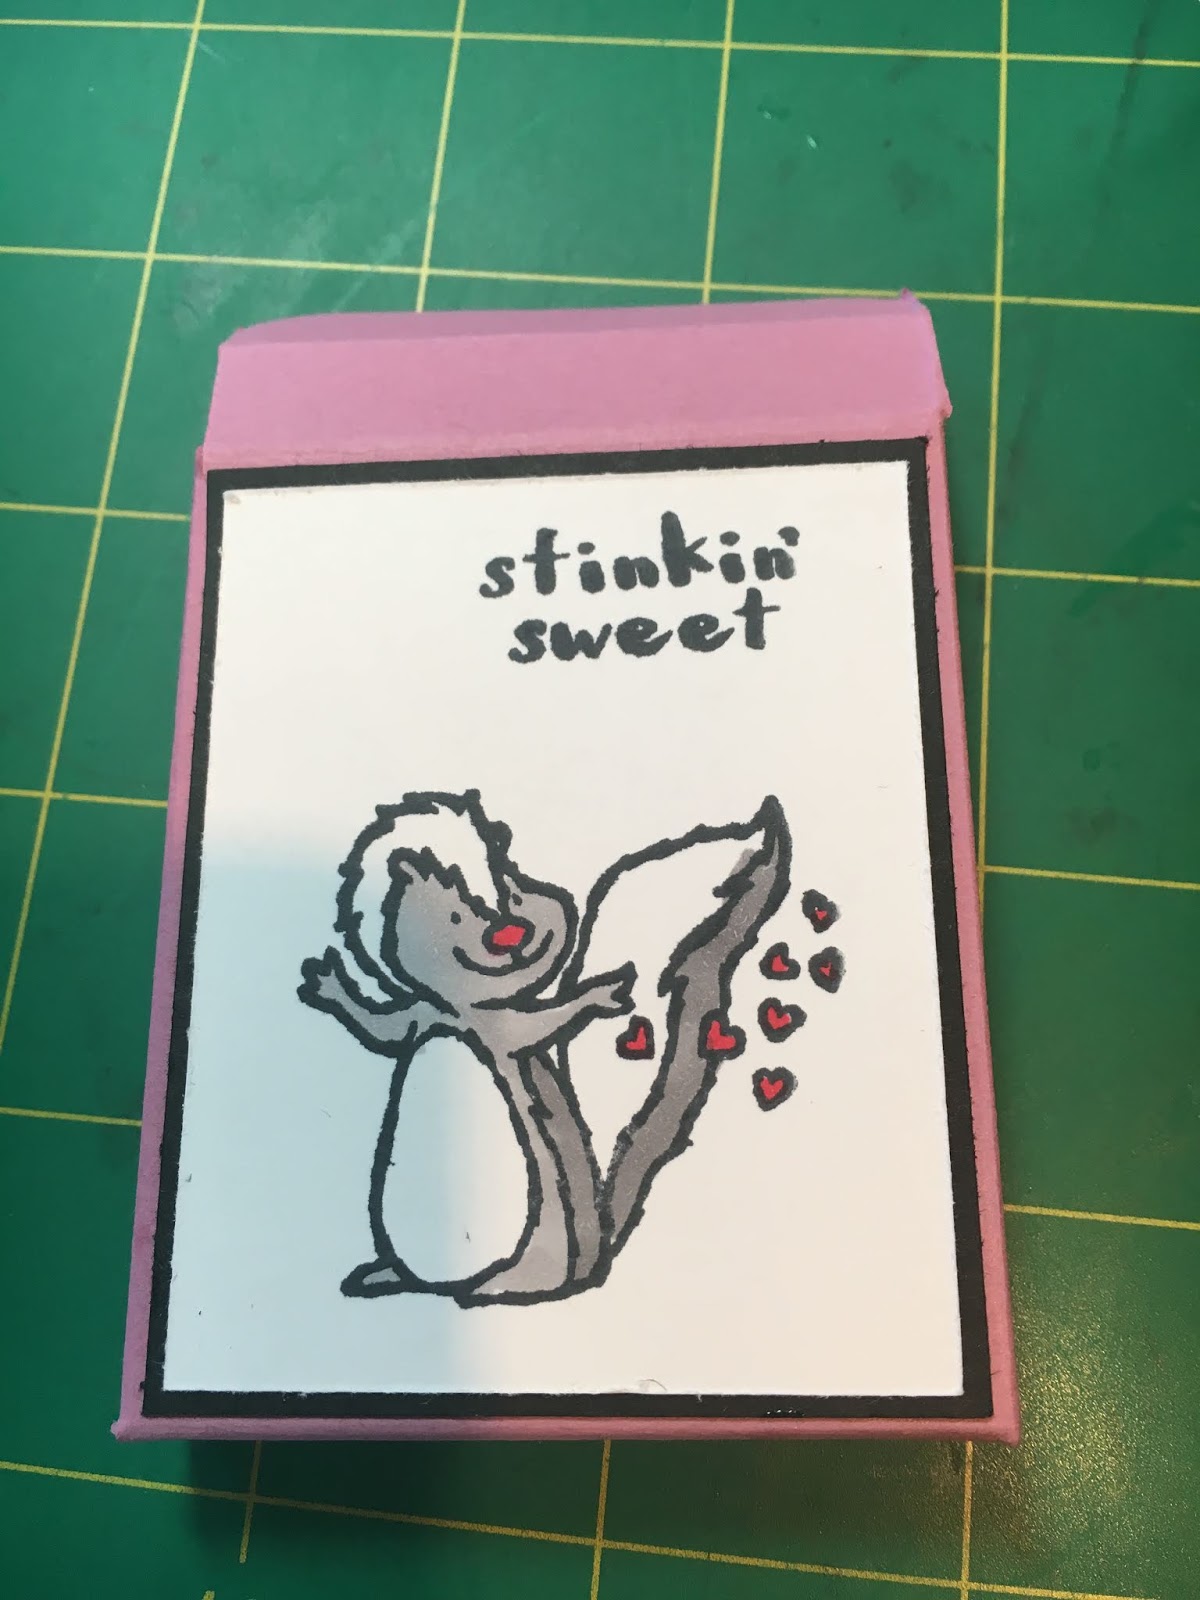
I stamped the sentiment on thick Whisper White CS - 4" x 31/2".  I did 10 in Real Red and 10 in Sweet Sugarplum to match the boxes I had assembled.  I then ran them through the big shot.


With the paper this size it was easy just to place the die down.  It didn't really have to be perfect.  The die is called Heart Puzzle Die - PNM138 from Pink and Main.  They also have a larger rectangle die as well.  I used the thick Whisper White CS from SU so it had some thickness and the kids could handle it OK.


I did have to run it through back and forth just to make sure the puzzle edges came out crisp.  They cut out really well.


Here is what it looks like broken into its pieces.  I was just going to place each puzzle in a box but was afraid a piece might slip out, so I found these little bags in my stash to put them in to keep them secure. 


They fit perfectly in the little boxes.  They are all really to give to Jennifer and her Mom to put in the goodie bags they are preparing.  They purchased some other things, and I will contribute these pencils also which I had in my stash. 


I remember Rachel and Sarah loved to do puzzles.  I think the kids are going to enjoy these even if it is only for the day!  I wanted to post this today as we are suppose to get some really bad weather over the weekend.  They are forecasting wind, rain, ice and 8-11 inches of snow.  I hope our power doesn't go out like it did last year or knock down any more trees.  One good thing  is that I will get to work on some more goodies.  I have the Wellness Center and teachers next.  They have already declared a State of Emergency for  PA.  Spring can not come too soon for me!  Everyone please be safe!

Thanks for stopping by,

Nancy


Monday, January 14, 2019

Valentine Box

I have been trying to decide what to make for Jennifer's classmates for Valentine's Day.  I saw this cute little box over on - The Paper Pixie - and decided that was it!  Of course, I decided to use Real Red and Sugarplum CS.  I cut them all out and then scored and folded.  This part took the longest to accomplish as I made 20 of them.


I then used my stamparatus and used these adorable stamps from SU's new Hey Love set and colored them in with my markers.  I love these little critters and the cute sayings - just right for the kids!


I then glued them on black CS.  I did this all assembly style which it made it easier.


 I used my tombow glue on this project which gave me some wiggle room.  Then I glued each image onto the CS boxes.  Doing this before I assembled the boxes made it a lot easier.


 I then assembled the boxes.


I couldn't use all the cute images as the square was not big enough, so I used these three.


I just love these images!  I think the skunk is my favorite!


Jennifer and her Mom stopped by yesterday and she really liked how they turned out!  I showed her what I am making to put inside and she really like that.  I'm almost finished making them, so I'll post that by the end of the week.  Any ideas of what it is??

While they were here she wanted to make some Valentine cards.  She did such a good job!  This card she spent so much time.  I loved how it turned out!  I think I will let her do my coloring in the future!


Thanks for stopping by,

Nancy

I submitted this post to CardzTV Challenge - #81 - Anything Goes.

Tuesday, January 8, 2019

Off the Edge Fairy Card

I just got finished making these adorable cards!  I saw a video from Jennifer McQuire showcasing these stamps and cards and fell in love with them.  I knew they would be perfect for Sarah and Jennifer.  Both have a love for fairies.  Jennifer even got a cute fairy house from Santa for Christmas.


The stamps that she showcased were from the December's monthly kit from Hero Arts.  I had never purchased one of their kits before but the "fairies" made me do it!  I was pleasantly surprised!  This kit has so many stamps and dies plus extra goodies that came with it.  I love the dandelion stamps that come with the kit.  The kit also included a glimmer pen that I used on the fairies wings and heart on the envelope.  This pen is great - a lot of glimmer.


This is just one of the examples of stamping off the edge.  I like how she cut the card down to size so it fits in a regular envelope.  Check out her videos for a lot of good ideas.  She does such a great job.  Here is a picture of the inside of the card.


Playing with these dandelion stamps reminded me of when I was a kid picking them and blowing them away with my wishes.  Since I am mailing them, I decided to dress up the envelope. 


I have finally managed to put away most of the Christmas decorations.  I have a naked tree in the living room so that is next.  Have a great week!

Thanks for stopping by,

Nancy


Tuesday, January 1, 2019

Tea Tins

Before I forget, I wanted to post some goodies that I made my daughters for Christmas.  I always try to make them something for Christmas and this year I decided to decorate some tea tins as they both love their tea!  I just used some of the Tea Room SDSP and wrapped it around the tin with the tear and tape.  I embossed the sentiment with the copper embossing powder using the Time For Tea stamping set and cut them out with the matching dies.


To decorate the lids I used the Tea Room Copper Vinyl Stickers and tied some twine in a bow for the front.  The tin held three bags of loose tea perfectly.


I decided to use different SDSP for each tin.


After I wrapped them up, I decided it needed something else so I decorated the stars with some red and white twine I had.  It took about 36" and I just kept wrapping  around the star.


I loved how they turned out.  Of course, when the girls saw them they wanted one as well, so I ended up making more.  They have them hanging on their key rings!  I love how they turned out.


Now I guess I have to start putting all the Christmas goodies away for another year!  I feel like I'm just getting started and it's time to stop.  I guess it's time to start on all the heart items!!  Everyone in the Pansy Patch hope you and yours had a wonderful New Year's.  We went with Jennifer and her Mom to the NJ Convention Center yesterday to the Jurassic Dinosaur Exhibit.  I have never seen so many kids in one place before!!


We then stopped at the Rainforest Cafe for dinner.  It was a realistic rainforest, complete with lush vegetation, tropical rainstorms, trumpeting elephants, etc. and waterfalls.  She had a great time, and we were totally exhausted when we finally got home.


Thanks for stopping by,

Nancy

I entered this post over at Crafty Creations Challenge #381 - Anything Goes! and CardzTV Challenge #80 - Anything Goes.