Showing posts with label Cards. Show all posts

Monday, June 2, 2025

Mother's Day Cards

 When I was thinking about making some cards for Mother's Day, I was looking through my embossing folders and came across this oldie but goodie! Does anyone still  have any Cuttlebug Embossing Folders?


I used He Loves Me folder.  I can't remember when I used it last.  I used my Gina K's ML#2 to cut my SU's Wisteria Wonder CS for my layer and adhered it to my base card in Daffodil Delight.  Love these colors together.


For my sentiment, I used Concord & 9th stamp set - In The Bag. I thought it looked cute inside of the heart.  I also added some gems for some sparkle.


For my inside sentiment, I used my old stamp from Michael's and added a few hearts.  I think this embossing folder can be used for so may other occasions.  I found another one that I will have to dust off.  

I entered this post over at Can You Handle The Pressure  challenge.

Thanks for stopping by,


Nancy


Wednesday, May 7, 2025

Bunny Easter cards

 I know Easter is over but I forgot to post these cute bunny cards I made the kids for Easter.  They are too cute to forget.


I was running out of time, so I decided to use Gina K'S Tapestry Embossing folder for my base layer.  For my sentiment, I used SU's Easter Bunny stamp set and the matching bunny punch and rounded my corners.  I popped them up a with a wobble and tied a small bow on them.


For my inside sentiment, I used one of my favorite stamps from Michael's.  Quick and simple card!  Working on birthday and Mother's Day cards.  Everything comes at once.

Thanks for topping by,


Nancy

Monday, April 28, 2025

Easter Cards

Here are some of the cards that I made for Easter.  I have been so busy doing everything but what I want to do I am slow getting them posted! LOL!! It is hard to believe that Easter is over and we are moving right into May.  Everyone was here for Easter and our annual egg hunt.  The Easter bunny is slowing down!  


I used Gina K's Poly-glaze sheets and used green and purple foil for my base cards.  I also used the negative sheet to foil it again which are the darker cards.  My sentiment comes from SU's Easter Bunny stamp set.


For my inside sentiment, I used the same SU stamp set.


I did the same technique but this time using green foil.


It's hard to decide which technique I like the best. We hope everyone had a wonderful holiday.  The wind has finally stop so we are busy trying to get some work down outside.  Joe did his first mowing and I'm enjoying seeing the flowers bloom.

Thanks for stopping by,


Nancy


Sunday, December 29, 2024

Christmas Cards

 Here are some more  Christmas cards that I made with the left over frames from my previous post.  When I die cut them I thought they were too pretty to throw away.  I embossed SU's Real Red CS with SSS Filigree Embossing Folder and placed the frames over them.


I then cut Gina K's Elegant Tree Die on gold foil and her Merry Christmas Die/Shadow for my sentiment.  I added a few gold gems to finish the front panel.  I love how they turned out.


For my inside sentiment, I used SU's Bright and Beautiful stamp set again in gold ink. 


Now we are getting ready to celebrate New Year's.  It's hard to believe that the year is coming to an end.  We want to wish everyone a very Happy New Year!!

Thanks for stopping by,


Nancy


I entered this card over at Can you handle the Pressure Challenge - Winter.


Tuesday, December 17, 2024

Nordic Christmas Tree Card

 I was able to get some Christmas cards made over the weekend.  Nothing like waiting till the last minute!!  My first set of cards were made with Gina K's Nordic Christmas stamps and die set which I purchased from Simon Sys Stamps when they had a special release.  


I have been hoarding some SU's brushed Gold card stock with I embossed with the Filigree Snowflake Folder from Simon Sys Stamps as well. I love how it made the background for my tree,


I used Gina K's Detail Gold embossing powder for the tree and the sentiment and used her ML#2 to cut my layer.  To decorate the branches I used some gems from my stash.  


For my inside sentiment, I used SU's stamp set - Bright and Beautiful.  I haven't used this set for a long time and the rubber stamp was perfect.  I was so happy how these cards turned out.  

I made a bunch of Reindeer Food for Juan to take to his Nursey School this week for his classmates.  I haven't done this in so long.  Margaret came up to help and lucky I had taken a quick picture on my desk before she took them home.  I used an old stamp/die from SU for the cute reindeer tag.


We had a really nice day here today getting in the 50's.  Tomorrow the rain is coming and I guess  snow is on its way as well.  We are having our Christmas this weekend, so I hope it's not much!!

I entered this post over at - Double D Challenges Tree .

Thanks for stopping by,


Nancy


Wednesday, March 13, 2024

St. Patrick's Day Cards

 It is hard to believe that March is almost half over!  It was a beautiful day in PA with temps in the high 60's!  We traveled to Lancaster and had a wonderful lunch with friends that are moving to Tennessee.  The weather was perfect for a drive in the country.  I always make cards for this holiday and this year is no exception.


These were made with the stamp set/die from an older kit that I had purchased from Gina K a few years ago.  I used it that year to make this card. 


I used SU's Old Olive CS for my base card with and Basic White for my layer.  


For my inside sentiment, I used one of my old wood stamps that I have had for years!  I loved how these cards turned out.

I entered this post over at - Double D Challenges.


Thanks for stopping by,


Nancy

Tuesday, February 13, 2024

Kids Valentine's Cards

 Well, tomorrow is Valentine's Day.  We  hope everyone has a wonderful day filled with fun and surprises!  I made these two cards for Jennifer and Juan.  I saw Jennifer McGuire do a video with the new Concord & 9th Pop Heart Turnaround stamps and dies and decided to try it out!


I have one other turnaround stamp set and after watching her video I decided to get the jig that they made to help you with the technique.  It was definitely a game changer.  I used dye ink and craft ink and was pleased with the result.


I took her advice and cut 4 white layers for the words to make them stand out and then used the white craft dye ink to stamp on the letters.  I think it made such a difference.


For my inside sentiment, I used SU's Heart to Heart stamps.  When  I was stamping my card front I used a 6" x 6" CS and then cut it down to an A2 size which left me nice pieces to use on the inside.


Here is the card that I made for Jennifer using the same technique.


We  got 10" of snow yesterday but thankfully the temperature is warm today and half of it is gone!  If course Joe's truck with the plow decided not to run so he had to use the snow blower which is too small for the job which is why we got the plow a few years ago!  Always something!!  The rest of the week is suppose to be warmer, so hopefully it will all be gone sooner than later.

Thanks for stopping by,


Nancy


Tuesday, January 9, 2024

Rudolph Christmas Card

 I almost forgot to post the Christmas cards I made for Jennifer and JJ.  I was looking in Pinterest for something to make for them and came across this adorable card.


I used SU's Real Red CS for my base card and then used Simon Says Filigree Snow Folder to emboss my second layer.  


For my Rudolph, I used a die set from Simon Says called Reindeer Parts.  It's hard to see, but I used some lacquer on his noise to make it nice and shiny!  I also tied a tiny jingle bell with some twine on his antlers.  


 For my sentiments, I used the same stamp set.  I think they turned out so cute!  We had about 8" of snow over the weekend but most of that will disappear with today's warm weather, rain and wind!  Ugh!! Hope all those in severe weather are safe and warm!

I entered this post over at the - Can You Handle the Pressure Challenge.

Thanks for stopping by,


Nancy

Tuesday, August 15, 2023

Bird Ballad Laser Cut Cards

 While trying to clean out my craft room, I found two SU boxes with these adorable tin boxes and Laser Cut cards/envelopes.  They were originally sold with the cards/envelopes plus an option for refills on tags, labels, etc. which sold out quickly.  The tins I had only contained the cards/envelopes so my thinking is that I probably got them during Saleabration.  I decided for my daughter's birthday I would make some bird cards using the Free As A Bird stamp set and DSP that belonged to the set to put in the tin.  She loves feeding her birds so we also brought her an adorable birdhouse as well. 


Each tin had 12 cards/envelopes but I ran out of time and made 10.  It ended up being more involved than I thought as there was no dies to go  with the set, so I had to fussy cut some of the birds out of the DSP.


Here is a picture of the tin. Very nice quality.


Here is a picture of the first card I made backing the laser cut with pink CS.  I used the stitched nested label dies and the sentiment from the stamp set.


I tried to make two cards with the same background color but with different birds. 


I also made wax seals in different colors so she would have them to put on the envelopes when she used them.  Spellbinders came out with these round double sided adhesive seals which makes it so easy to store and then use. I will show the rest of the cards in upcoming videos. 

Thanks for stopping by,


Nancy


Monday, July 24, 2023

Birthday Card

 Here is another birthday card I made.  This one is for my daughter.  Gina K did this technique a few weeks ago. and  I thought it was so unique and different.  For those who want to try it, here is the VIDEO.  


It is made with her 3D Diamond Cover plate.  It can be made with any cover plate, but since I didn't' have any I ordered the one she used.  I thought it was pretty neat.  First you cut out two die cuts and adhere them together.  Then you take a silhouette stamp set and stamp it on two different pieces of paper in the exact same position.  Using a stamp positioner makes it easy to accomplish.  The closest one I had was my Springtime stamp and die I had purchased from Local King Rubber at a craft show years ago.  It is a pansy plant in a saucer.  Then you die cut one with the 3D die and place it exactly over the other imagine.  You trim off the edges and then I mounted my on black CS and used SU's Highland Heather for my base CS.  I used one of Gina K's paper sentiments that I had in my stash.  All I had to do was cut it out.


For my inside, I used the ladybug stamp from the set.  I thought they were so cute.  I still have some other birthday cards to make and I have been busy making some other projects, so with this hot weather my craft room has been getting a workout!

Thanks for stopping by,


Nancy

Sunday, July 2, 2023

4th of July Postcards

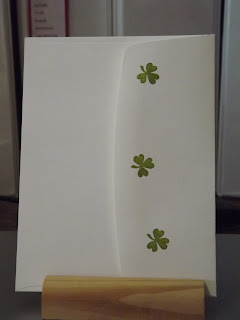
 Well, it is hot, humid and raining - typical summer days!  Trying to straighten up my craft room, I came across an old SU stamp that I thought would make some great postcards.  A friend of mind had found it at a house sale and scooped it up for me for 50 cents!  I think it was from 2001.  Jennifer McGuire had a VIDEO awhile ago on making these and I thought I would make some for the holiday and send to some of our friends.  Awhile back, I had made some for Jennifer.  Here is the POST I made.  As you can see, they look great with any stamps.


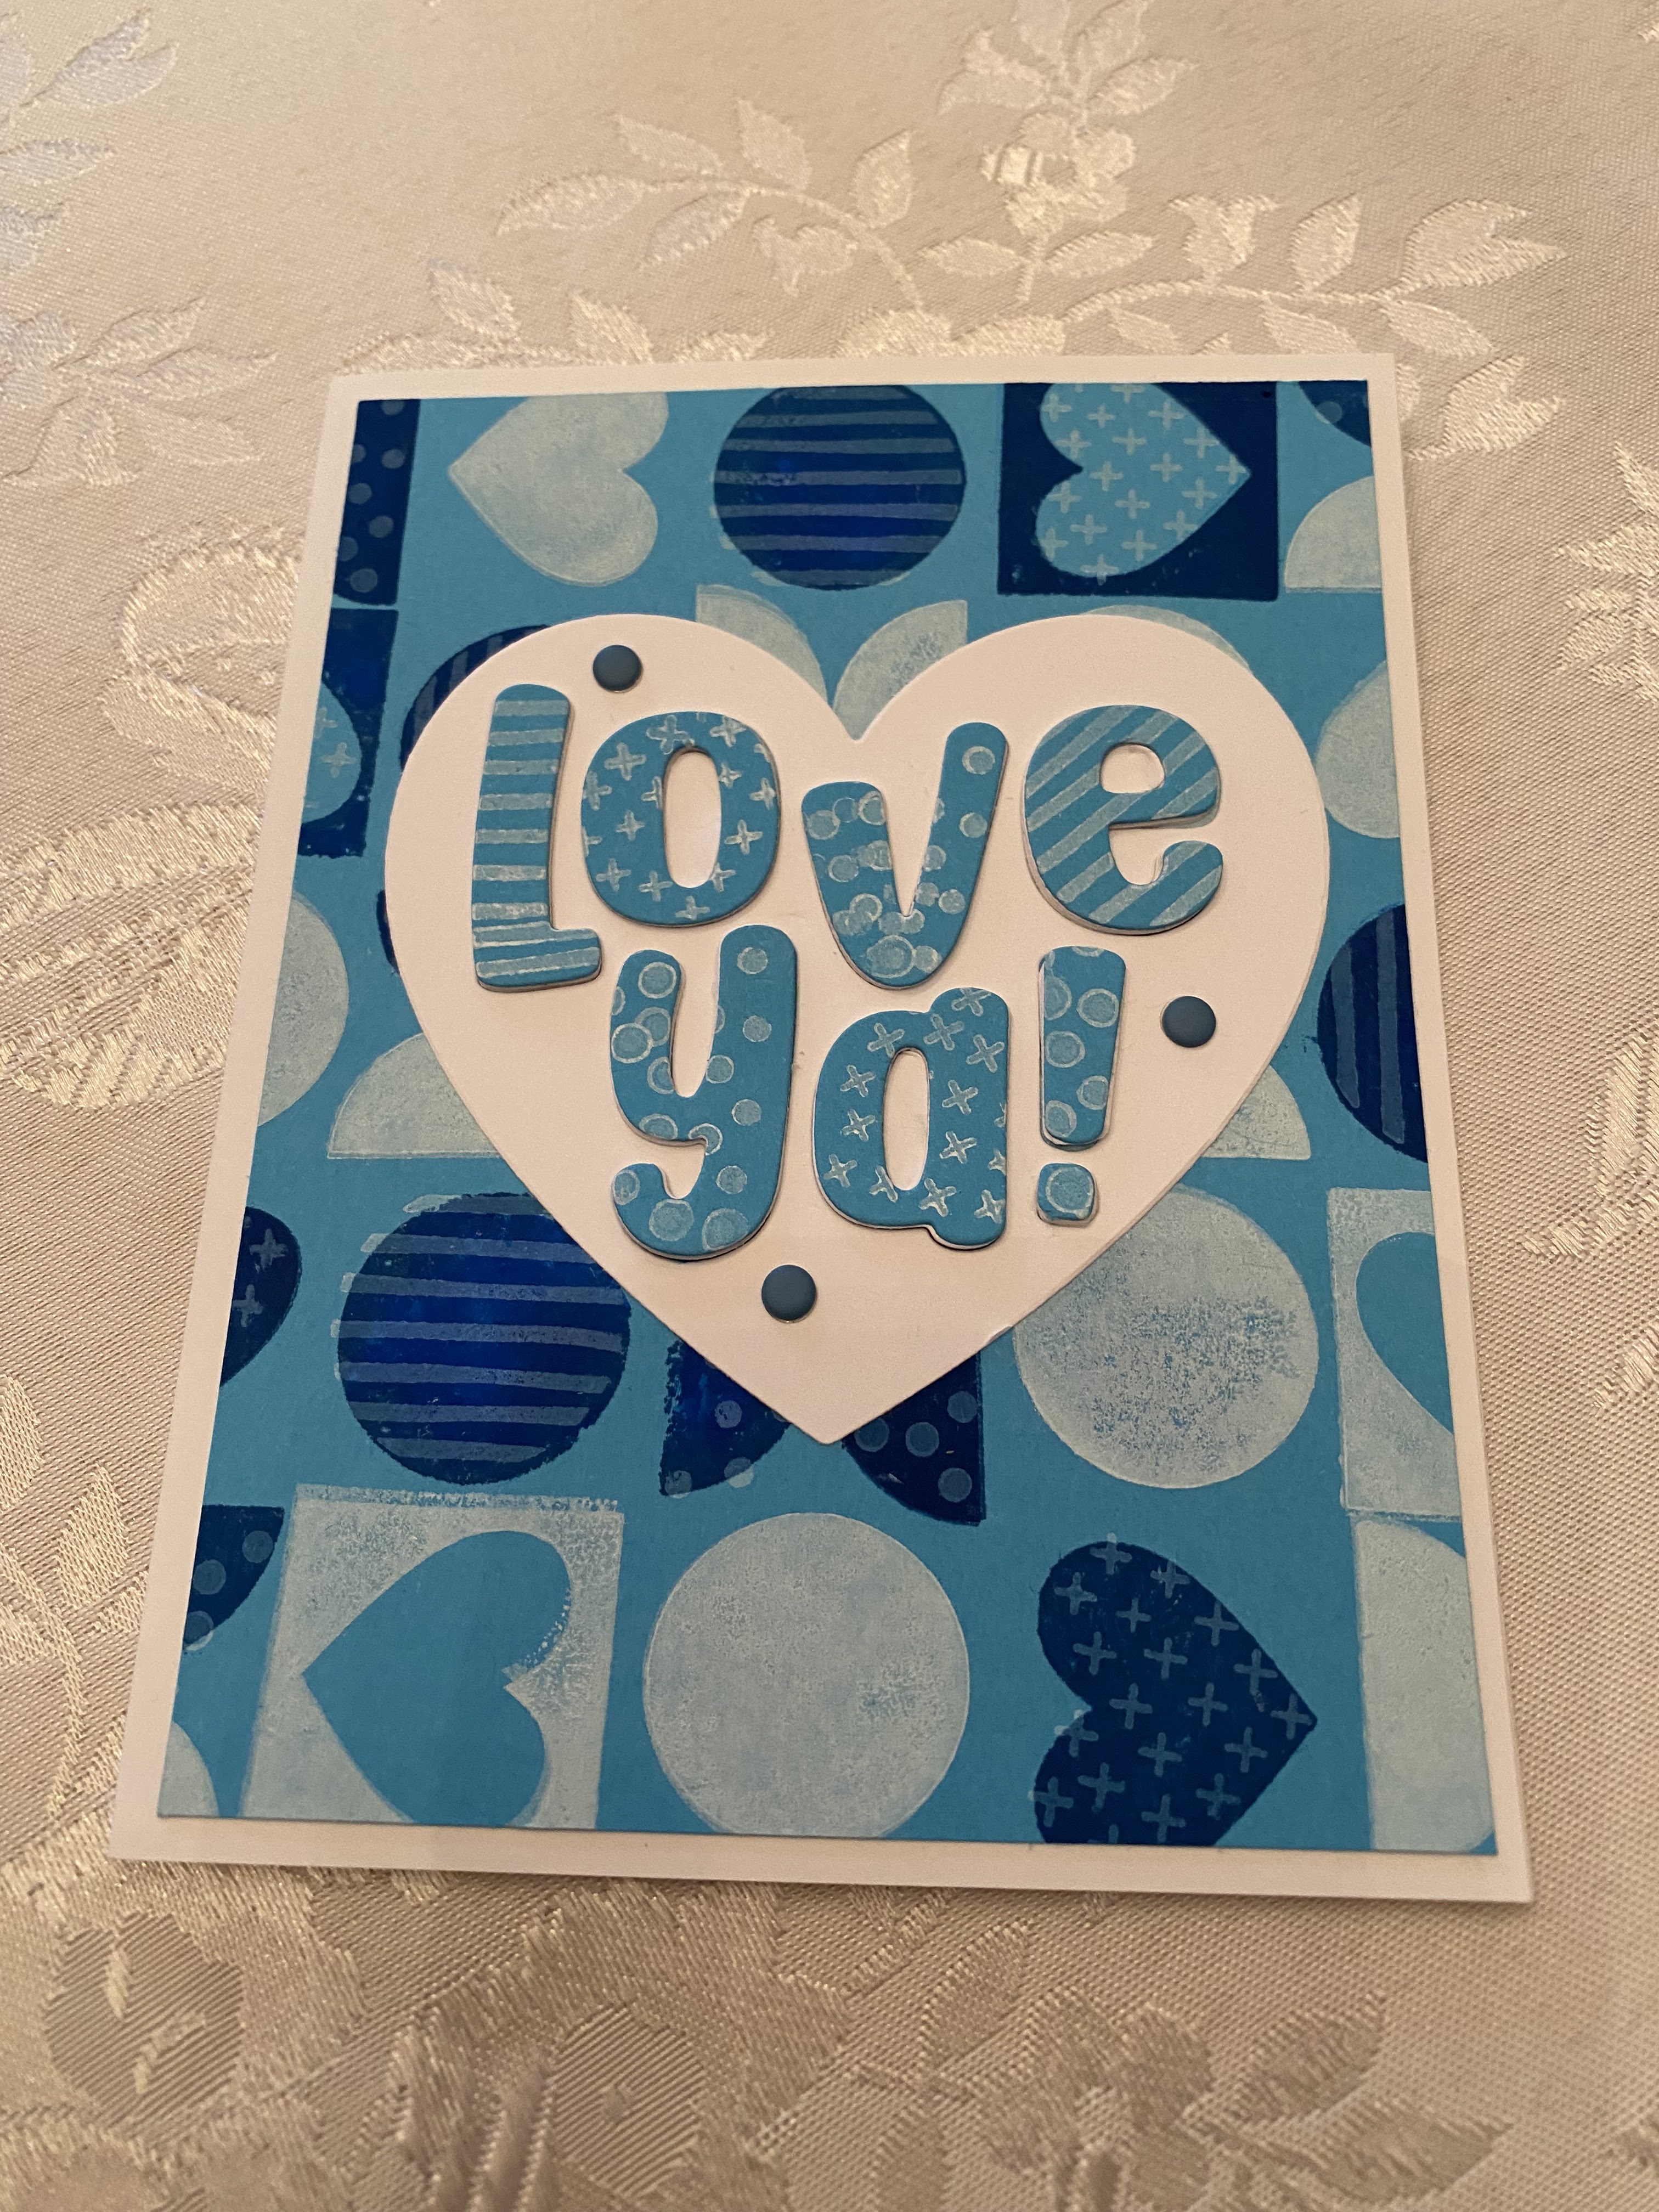
I used one of my oval stencils and did some blending for the top and bottom leaving the  middle white  The stamp had never been used and was wooded mounted, so I carefully removed it and used my Misti.  I was so pleased how it turned out!


Here is a closer look.  I forgot to take a picture of the other side but Jennifer McGuire has a free template on her website that you copy on your CS that has a place for your stamp, address and message.  

It was a busy few days for us.  On Thursday, my daughters, Jennifer, Joe and I went to see the Statue of Liberty and Ellis Island.  We had taken our kids there many years ago, but Joe wanted to go back as his Dad had come to Ellis Island as a child from Poland with his older sister.  They have computerized more information and we hope to obtain photo copies of his Dad's journey.


From Ellis Island, we went by ferry to see the Statue of Liberty.  Here is a picture of Joe on the ferry.  


Here is a picture of Jennifer in front of the statue.  It was a nice day but very hot.

Then on Saturday we celebrated my birthday.  We went to a nice restaurant up in the Poconos.


I had a Boston Cream Pie which I love.  We are watching Daisy while Jennifer is at Wolfe's Lodge swimming and then Tuesday the kids are coming here for the 4th.  Wednesday I  will be sleeping in!!  LOL!!  Everyone in the Pansy Patch wishes you a wonderful 4th of July.

Thanks for stopping by,


Nancy


Monday, May 15, 2023

Mother's Day Cards

 I hope everyone had a wonderful Mother's Day yesterday.  We were blessed with a beautiful day.  We couldn't have asked for more perfect weather.  Everyone was here and it was so much fun watching Jennifer and Juan play in the yard.  

I managed to put together some cards using Gina K's Wreath Stencil.  I tried to find a small pansy in my stash to use but ended up using one of the flower stamps from SU's Tea Together set.


Sorry for the blurry picture.  My camera was not cooperating.  


Here is a better closeup picture.  I used CS in their favorite color and layered them in Basic Black.  The sentiment was from the Tea Together set and I decided to used tiny gold gems for the center of the flowers.


For the inside sentiment, I used another great stamp from that same collection.  This month is moving right along.  I always judge the time by what cards I am making.  I have already moved on to making Father's Day cards. 

Thanks for stopping by,


Nancy


Tuesday, May 24, 2022

Teacher's Card

 It's hard to believe but the school year is almost over.  Jennifer will be going into 4th grade plus a new school!  She loves the little school that she has been going to so it will be a change for her in the fall.  She asked me to make her teacher a card to give her at end of the year party.  I knew immediately what stamp set I would use - Harvest Hellos from SU along with the matching punch.  I have used it many times for either pumpkins or school projects.  


I used SU's Real Red CS for the base card and some DSP for the layer.  For the next layer, I stamped two apples on Whisper White and colored them in with the matching Real Red marker.  I then stamped the sentiment on Real Red and punched it out.  I added some red gems from my stash and used some SU's Polka Dot Tulle ribbon to finish it off and put Memorial Day weekendsome Wink of Stella on the apples.


For my inside sentiment, I used SU's Pansy Patch stamp set and added the scrap of DSP I had leftover.  I just love this sentiment.  Memorial Day weekend is coming up but unfortunately it looks like we are going to have rain.  Daisy was out for a walk and she decided to try on Jennifer's sunglasses! 


 Thanks for stopping by,


Nancy


Thursday, March 10, 2022

Shamrock St. Patrick's Day Card

 Since I had some leftover shamrocks, I decided to make some more cards for St. Patrick's Day.  This was an easy card to put together. 


The shamrocks are from Gina K's kit Luck and Love that I used in my last post.  The papers are from SU - Whisper White, Garden Green and some scrap DSP.  The sentiment is also an old SU stamp that a friend found at a garage sale and gave  me.  


The inks used for the shamrocks are SU's Garden Green, Old Olive and Lemon Lime Twist.  I added some gem stones in the center of them.


I used my Inkadinkadoo stamp for the inside sentiment with another leftover shamrock.


I like decorating my envelopes, so I used my Peg stamp again from Judith Stamps.

We went from 70 degrees yesterday to rain/snow today.  I guess winter doesn't want to give up its grip on us yet.  They are forecasting another storm over the weekend!  I'm looking for robins but haven't seen any yet.  

Thanks for stopping by,


Nancy