Tuesday, December 18, 2018

Christmas Muslin Stamped Goodie Bags

As I mentioned in my last post, I was finishing up making some goodie bags for Jennifer's classmates.  We were at Great Wolf Lodge Waterpark with her over the weekend, and I gave them to her to take home and fill with goodies that she and her Mom had purchased.  I had been through my stash and trying to clean things out and found these mini bags I had purchased stuffed in a drawer.  I  decided to try and use my stamparatus and make some for Jennifer and her classmates.  I have to say the videos make it look easy, but I found that the clear stamps didn't turn out as good as the rubber stamps.  On a few of the bags, the black ink ran but for the most part they turned out pretty cute!  I also found this adorable snowman stamp mounted on wood that worked great!  I only had 15 of the smaller bags, so I made Jennifer a larger one stuffed with a candy cane, covered notepad and some other Xmas items.  I really liked how they turned out.  Here is the large one I made for Jennifer.


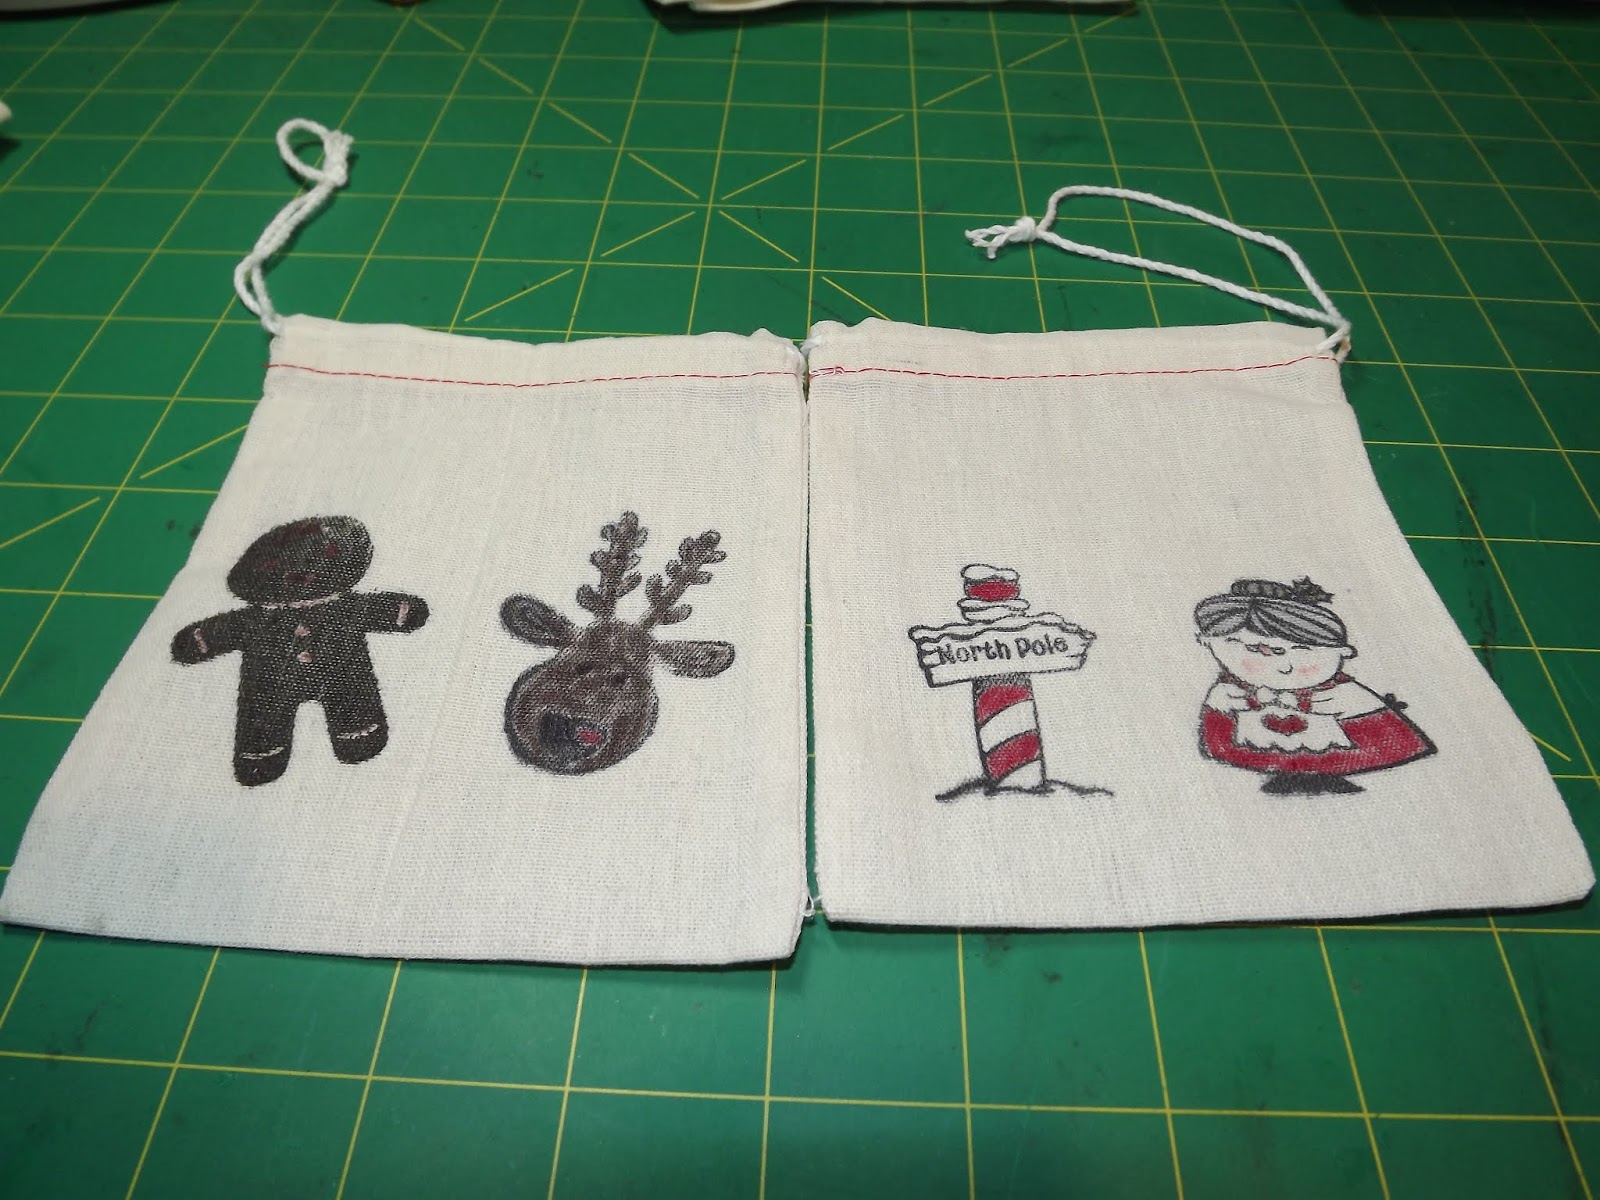
After I stamped them in Stazon ink, I colored them in with my markers.


I went through my Christmas stamps and picked out different stamps to try.  For some reason, the bags didn't like the brown marker, but I thought the gingerbread man and reindeer were cute together and I loved Mrs. Claus.


I decided to use different colors on the snowmen.


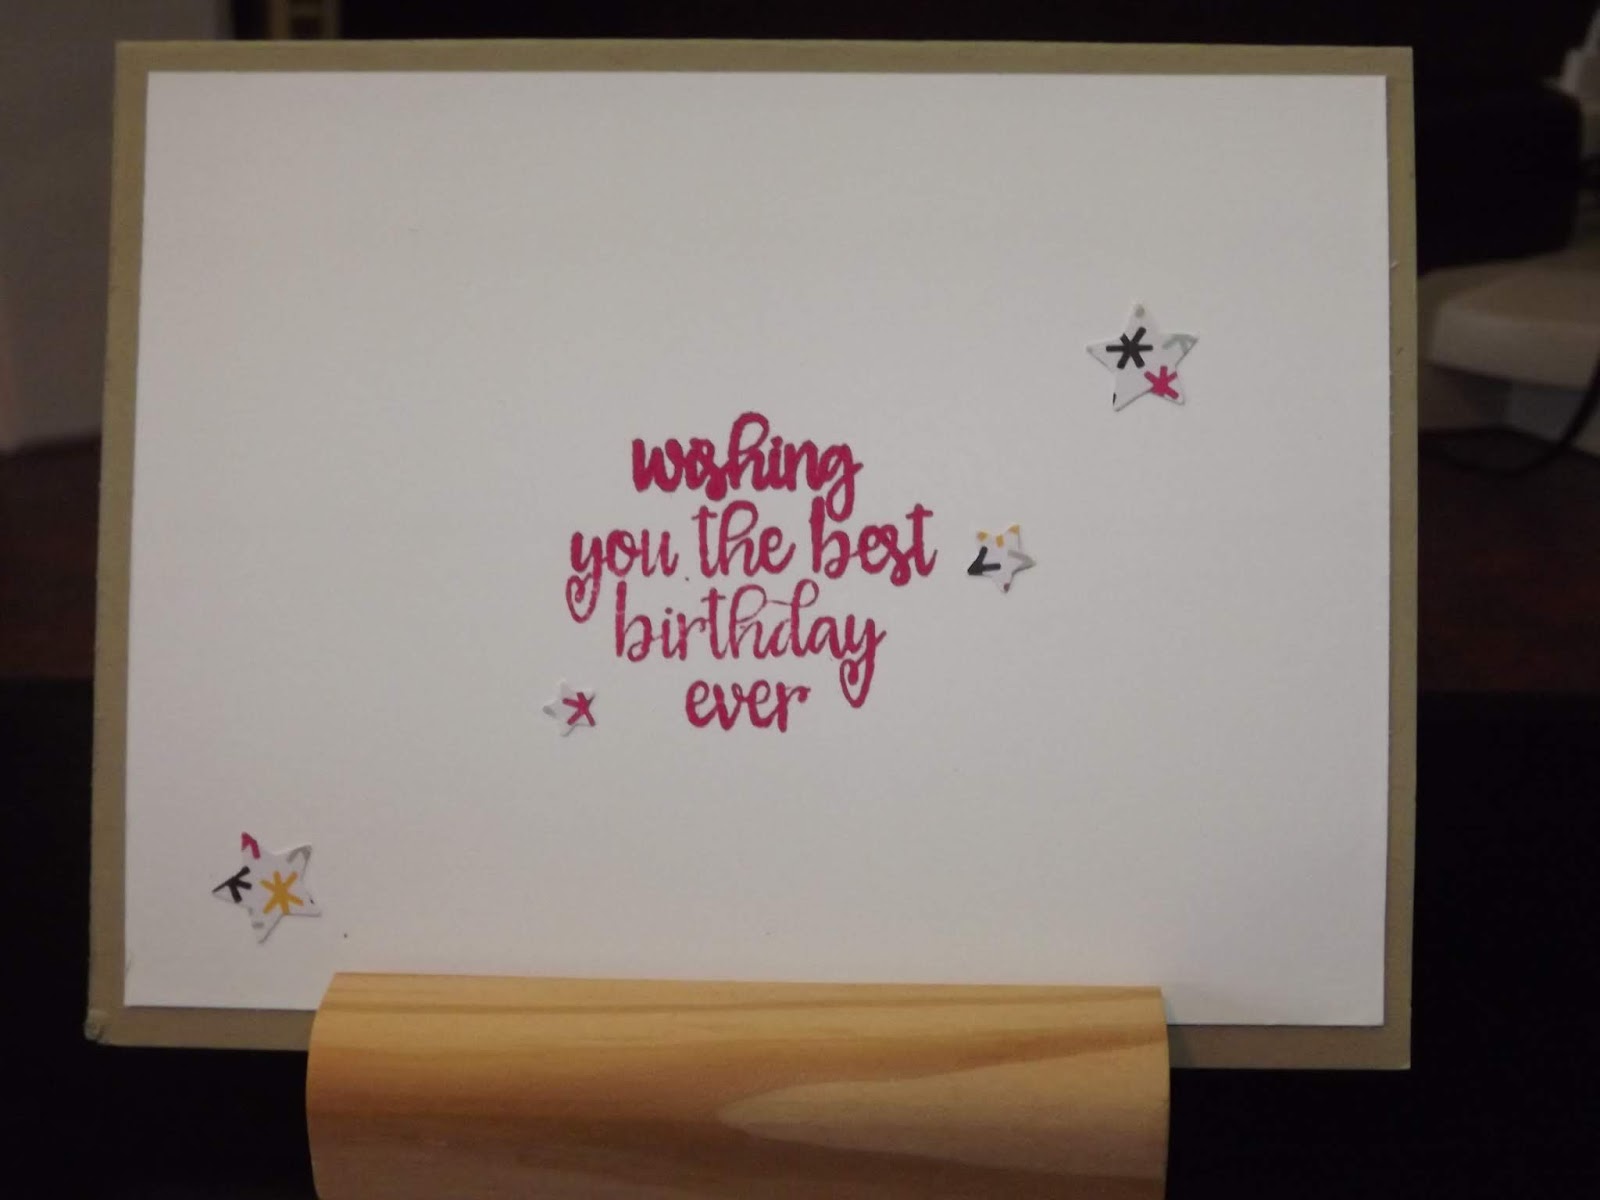
I computerized my greeting and then punched them out with my bell punch.


I enjoyed making these and love how they turned out.  Jennifer is having her Christmas program on Friday and will hand them out to her friends and her teacher's gift as well.  I hope everyone is getting their to-do list finished.  I know mine still a lot of things not marked off.  We are suppose to get a nasty storm by the end of the week, so I'm trying to finish up my shopping.  Depending on how much I get done, you may or may not hear from me for a while!!

I submitted this post to CardzTV Challenge #79 - Anything Goes. and Moving Along with the Times Challenge #87 - Anthing but a Card.

Thanks for stopping by,

Nancy

Tuesday, December 11, 2018

Hershey Nugget Wrapper and Santa Box

I am trying to finish up most of my crafts this week and then work on some cards.  Over the weekend, I made the rest of my little Nugget wrappers for the Wellness Center  I saw this video at - Dawn's Stamping Thoughts - and thought they were so cute.  They look like little packages under the tree.


Since I made about 50 of them, I cut all my papers first and then used my Envelope Punch Board.  I have to admit it took me awhile to get the knack of putting them together.  You don't have much room for error.  I learned very quickly that you have to score them well and break down the fibers well and then the little boxes came together easier.  I used my small star punch in glimmer paper to top them off.


It was a great way to use up some scraps of DSP paper as well.  My daughter won't be taking them in to the Wellness Center for another week, so I used 2 glue dots to secure them as I wanted to make sure they didn't come apart on the trays.


Here is one of the trays I put together.  I wanted to find some little trees to put in the center but finally saw this adorable - Santa Box video - that Dawn posted on her blog.  She put some candy in a bag, but I just put the left over nuggets in Santa without the bag.  I think it is so cute!


I have some extras that I made and have been handing them out like she did.  Joe and I had an appointment today and gave some out to the staff and they were so excited.


I have to make another Santa Box for the other tray and then they will be ready to go.  I have been working on Jennifer's gifts for her classmates.  They turned out so cute!  Wait until you see them!

I entered this post in CardzTv Challenge #78 - Anything Goes.

Thanks for stopping by,

Nancy

Thursday, December 6, 2018

Pop-Up Mini Pizza Box

I was looking for something to make Jennifer's teachers for Christmas and I saw so many of these adorable mini pizza boxes all decorated up for different holidays.  I think they are so cute!  I decided to make the one that - Debbie's Designs made mainly because I had the DSP paper that she used and loved the cute surprise that pops out!


They came together pretty quick.  She does a great job with her tutorials.  I changed up the CS color as I don't have Poppy Parade.  I planned on using Real Red, but it definitely did not look right with the DSP that had Poppy Parade color in it!  You think red is red but - NO!!


Here are the little Peanut cups that I decorated.  Aren't they cute!!  Now, are you ready for the pop-up surprise???


Here comes Santa!  I just love how you fold this cute little fella up and he pops up when the box is opened! 


Here is how I finished up the pizza box.  I used some twine and found some cute little jingle bells that I had in my stash and glued them on the circle with the sentiment.  You could make these with so many different figures for different holidays.  This is just one example.  Well, the weeks are going by quick and I have some more goodies to make.

Thanks for stopping by,

Nancy

Friday, November 30, 2018

Christmas Tree Advent Calendar

I wanted to make Jennifer an Advent Calendar this year.  I saw this adorable one over at Brenda Quintana's website.  I love all her Hershey tutorials and fell in love with this adorable tree.  With this particular one, you can use various types of goodies.  For mine, I used chocolate nuggets.


I didn't have any small number stamps, so I ended up just using my sharpie to write my numbers.  Her tutorial also shows how you can use a small circle punch for the ornaments.  I love how it turned out and can hardly wait to give it to Jennifer this weekend.


Before I placed my ornaments on the tree, I organized them by color and then wrote the numbers on them.  The nugget fit perfectly inside the little triangle.  I also decided to add some twine around the trunk.  The really nice part is it stands up so well.  She really did a wonderful job with her tutorial.  Well, now I'm working on some teachers gifts for the kids and some goodies for the Wellness Center.  Hope everyone has a great weekend.

I submitted this post to CardzTV Challenge #76 - Anything Goes.

Thanks for stopping by,

Nancy


Tuesday, November 27, 2018

Count My Blessing Card

I wanted to post my last Thanksgiving card that I made.  Actually, you could use this card for other occasions with a different sentiment on the inside.  I love this stamp set.  I used Very Vanilla CS for my base card and  Perfecctly Artistic DSP for my first layer.  I randomly stamped the little branches on the card and made a border on the bottom with the stamp of the loose leaves.  I then lightly colored them in to give them a depth of color with Crumb Cake and Pumpkin Pie SU markers.  I think they went so well with the DSP.


After stamping my sentiment on Very Vanilla CS in Early Espresso, I used my Spellbinders dies to cut it out and sponged it with Pumpkin Pie.


I tied some twine around the DSP before I adhered it to the base card.  Then I popped the sentiment up with some dimensionals and make a bow with the twine.  I was so pleased how it turned out.


I used the same DSP for the inside and stamped the sentiment using an old SU's stamp set called Thankful For.  I then stamped the leaves again and colored them in as I did for the front.  As I mentioned, you could use any sentiment on the inside.

I decided to make Jennifer an Advent Calendar, so that is the project I am working on this week.  So far so good.  Since Saturday is December 1st, I had better get going and finish it up.

I entered this post at CardzTV Anything Goes Challenge #75. Crafty Creations Challenge  #379 - Anything Goes.

Thanks for stopping by,

Nancy

Friday, November 23, 2018

Thanksgiving Card

I hope everyone had a great Thanksgiving!  It was so bitter cold here.  We can't remember a Thanksgiving that was so brutal.  Needless to say, no one ventured outside unless it was absolutely necessary.  Today's post is another Thanksgiving card that I made.  There is such beautiful DSP out there that I thought I would utilized some.


I used Very Vanilla for the base CS with a layer of Crushed Curry.  Then I embossed a layer of  Chocolate Chip CS with the Woodland Embossing Folder.  I adhered a piece of Painted Autumn DSP on a layer of Crushed Curry and adhered it to the embossed layer.


I made a banner from Very Vanilla CS and stamped the sentiment from the Painted Harvest stamp set in Chocolate Chip.  I love this DSP.  You really don't have to do too much stamp with paper like this!  Then I punched some leaves in Garden Green with my leaf punch and tied a bow with some twine.


For my inside sentiment, I used an old Inkadikado stamp that I had and added some more leaves that I also punched out.  FYI - the Wellness Center folks loved their little turkey's!  They were a big hit at the dinner table as well.  Now, I have to think of something for them for Xmas.  Have a great weekend ans I'll see you back here next week!

Thanks for stopping by,

Nancy

Monday, November 19, 2018

Thankgiving Turkey Nuggets

I have been working off and on on these little gems for the Wellness Center!  I saw a lot of them on Pinterest using different methods.  Some didn't have a wattle, but I think they look better with it.  I think they turned it so cute!


The first thing I did was cut some DSP 1" x 3" and cover the chocolate nuggets.  Then I chose my colors for their feathers and punched them out with my scallop punch.


For the scallop closest to the nugget, I scored them and cut off 5 scallops.  Then I would adhere that scallop to the next scallop leaving 4 scallops showing and trim them off.  Then I would position them on the third scallop and trim off any excess showing.


  I made these in steps as I made 50 of them.


After all the scallops were made, I used my 1" circle punch to make the head.  The last time I went to Michael's to get some glue dots, I purchased some micro min glue dots by accident.  These came in handy as I put the tiny googly eyes on them which made it a lot easier to place them on the faces.


The next step was to make their tiny beaks.  I cute out 1/2" squares and scored them from end to end and then folded them in half.


I used the same method of adhering them by using the glue dots.


For the wattle, I used my punch putting one of the top showing three petals and one on the bottom showing only 2 petals.


I then adhered the scallops to one end of the nuggets with a larger glue dot and the same for the face.


Aren't they cute - I love them!!  Here is one of the trays I used for the Wellness Center.


I saved some for my Thanksgiving table as well,  I'm sure the kids will love them!  Well, everyone here at the Pansy Patch hopes everyone has a wonderful Thanksgiving!

I entered these little gems at the Love To Craft Challenge - Anything Goes Challenge #28.

Thanks for stopping by,

Nancy

Thursday, November 15, 2018

Thanksgiving Card

I took a break making my goodies for the Wellness Center to start making some Thanksgiving cards.  If I don't hurry, it will be too late to mail them!  For this card, I used some Calypso Coral CS for my base card and used Basic Black for my first layer.  I have been trying to use up some of my DSP so my next two layers were from the Painted Autumn pack.


I used some shiny brown ribbon I had in my stash to wrap around the layers before I adhered them to the base card.  I then touched up a foil snowflake with some Early Espresso ink and adhered it over the ribbon.  I used my Stitched Shapes Thinlets Dies for my circles and the Thoughtful Banners Stamp set for the sentiment.


I really liked how this card came together with all the fall colors and pumpkins.  I used SU's Thanksgiving stamp set for the inside and fussy cut a pumpkin as well.


Well, it started snowing around noon and is project to keep going until we have 5-8" - Oh Goodie!!  Hopefully, it will warm up tomorrow and it will all melt away.  At least I can get in some craft time!

I entered this post at CardzTV Anything Goes Challenge #74.

Thanks for stopping by,

Nancy

Monday, November 12, 2018

Magical Day Birthday Card

Jennifer has a birthday party to go to and asked me if I would make a card for her friend.  I let her pick the stamp set and of course she chose the adorable Magical Day set.  I made two - one to take and one to keep on hand as it seems like everyone in her class is celebrating their birthdays!


I have to admit this stamp set is so cute!!  I used Pool Party CS for my base card and layered it with some of the matching DSP.  I also added some of the matching glimmer paper to add some shine!  I used Lemon Lime Twist ink for my sentiment on the front and embossed it with Iridescent Ice Embossing Powder.


I stamped and colored in my little mermaid and used my Spellbinders circle dies to cut it out and mounted it on some more glimmer paper.  I added some gem stones that I had in my stash as well.


For my inside sentiment, I used SU's Perfect Pairings Stamp set and also embossed it with the Iridescent Ice Embossing Powder and added some twinkles!  I hope everyone had a great weekend.  It got really chilly here with frost on the ground everyday.  I guess I know what is coming next!

Thanks for stopping by,

Nancy

Monday, November 5, 2018

Birthday Card

Here is another birthday card that I needed for this month.  I finally got around to using this Happy Birthday die from Poppy Stamps that I had purchased awhile ago.  It cut like butter.  So easy!


It was really quick and easy to make, and I liked how it turned out.  For my base card, I used Crumb Cake and my first layer was Garden Green.  Then my next layer was DSP from It's My Party.  For my die cut, I used Melon Mambo CS.


To dress it up a bit, I used Melon Mambo Stitched ribbon and some sequins.  I made a knot on one card and then tied a bow on the other to see which I liked the best.  What did you think?  I like the bow better.


For the inside sentiment, I used one from Gina K's Wreath Builder Set and punched out a few stars from the same DSP paper.

Thanks for stopping by.

Nancy

Wednesday, October 31, 2018

Halloween Gable Boxes

Here is my last Halloween project for this year!!  If it were up to me I would keep making some goodies!  I made these for Jennifer and her friend for Halloween.  I will give them to her when she comes home from Florida.  I filled them with some of her favorite yummy treats!


These cute little boxes are all over the web decorated for numerous holidays.  I used my Cauldron Bubbles bundle for these along with SU's cable boxes and my Everyday Label punch.


I hope everyone has a HAPPY HALLOWEEN!!  It's a really nice evening here for the kids!

Thanks for stopping by,

Nancy


Tuesday, October 30, 2018

Born to Ride Birthday Card

I had to stop making Halloween goodies and make a card for a friend's birthday.  I wanted to use the Born to Ride stamp set by SU but not the motorcycle and this is what I came up with.


I used the technique with the hinges on my stamparatus with the Happy Birthday stamp from the  Perennial stamp set.  I stamped it with Pacific Point on Whisper White and layered it on my base card of Pacific Point.  Using the Born to Ride stamp set, I popped up the greeting and added some dots.


I really liked the hinge technique.  I then decided to step up the inside of the card with another sentiment from the set.  I also popped it up.


For the birthday sentiment, I used my Perennial stamp set.  I really liked how it turned out.  I wanted to add some ribbon of course, but I restrained myself!  Well, back to my Halloween goodies!

Thanks for stopping by,

Nancy

Thursday, October 25, 2018

Halloween Lollipops

I decided to make these adorable Halloween Lollipops that I saw at - Stamp Your Art Out - for the Wellness Center.  She did a facebook live and made so many versions.  I kept mine down to three different designs, as I was making a lot of them.  They came together so quick and easy.  Here are the three designs that I decided to make.


I actually took her advice and order the lollipops from Amazon and they are so good!  Any flat lollipop will work though.  Here is a closeup of the moon and star lollipop.  Because I am making so many I used some inexpensive 1/8" ribbons from Michael's that I had in my stash for the bows.


Here is a closeup of the cat lollipop.  I used the retired More than Mustard CS for these lollipops with the sentiment from the stamp set Spooky Sweets and the cat punch.


The last closeup is the one I made using the Spooky Sweets background  and then using the bat punch and gluing the different sizes over the background.  I was able to use a lot of CS scraps as well which is always nice.


This last picture is a picture of what I have made so far.  I have about 25 more to go!  But they come together pretty quick.  When finished I'll put them all together in my Halloween tray.


I so enjoy making craft items for the Wellness Center but not as much as the clients enjoy receiving them.  I encourage anyone out there to check with any of their local groups - Senior organizations, Wellness Center, Churches, etc, and see if they would like to have some goodies.  I usually make items for Halloween, Christmas, St. Valentine's Day and Easter.  I definitely receive more giving them then they do receiving them.  A lot of clients have no one and just a little favor makes their day.  Some have grandchildren and they are excited to give the item to them when they come and visit.

I entered this post at CardzTV Challenge #71 - Anything Goes.

Thanks for stopping by,

Nancy