Well, those two weeks certainly went fast! I feel like I just posted the other day. One good thing is that it is still light outside tonight!! Yea!! That can only mean one thing - Spring is right around the corner. I saw this - VIDEO- by Frenchie the other week and decided to make it. Truth be told, I would have to make more than one holder for my paper, but I had made something similiar years ago to hold some goodies on my desk and it has been taped up one too many times, so I thought this would be perfect to take its place. This came together so easy.
I didn't make the dividers, but it is very sturdy and holds the paper pads perfectly.
I used some of my pansy paper and covered the entire front and sides as she only covered part of the paper. Her idea of using the 12 x 12 backing from the DSP works out great. I always save them so this was a perfect project for them.
Friday when Jennifer and I were facetiming, she asked me if I would make the same thing I made for her classmates last year for St. Patrick's Day for her new friends at school. Of course, I said yes, wondering what did I make? Fortunately, it was an easy project.
Here is the - POST - from last year. Since no candy is allowed in schools anymore, I substituted gold tokens for the rolos. I actually started making some St. Patrick's Day cards, so hopefully I'll get them finished. I haven't had much crafting time lately, so we will see what happens.
Thanks for stopping by,
Nancy
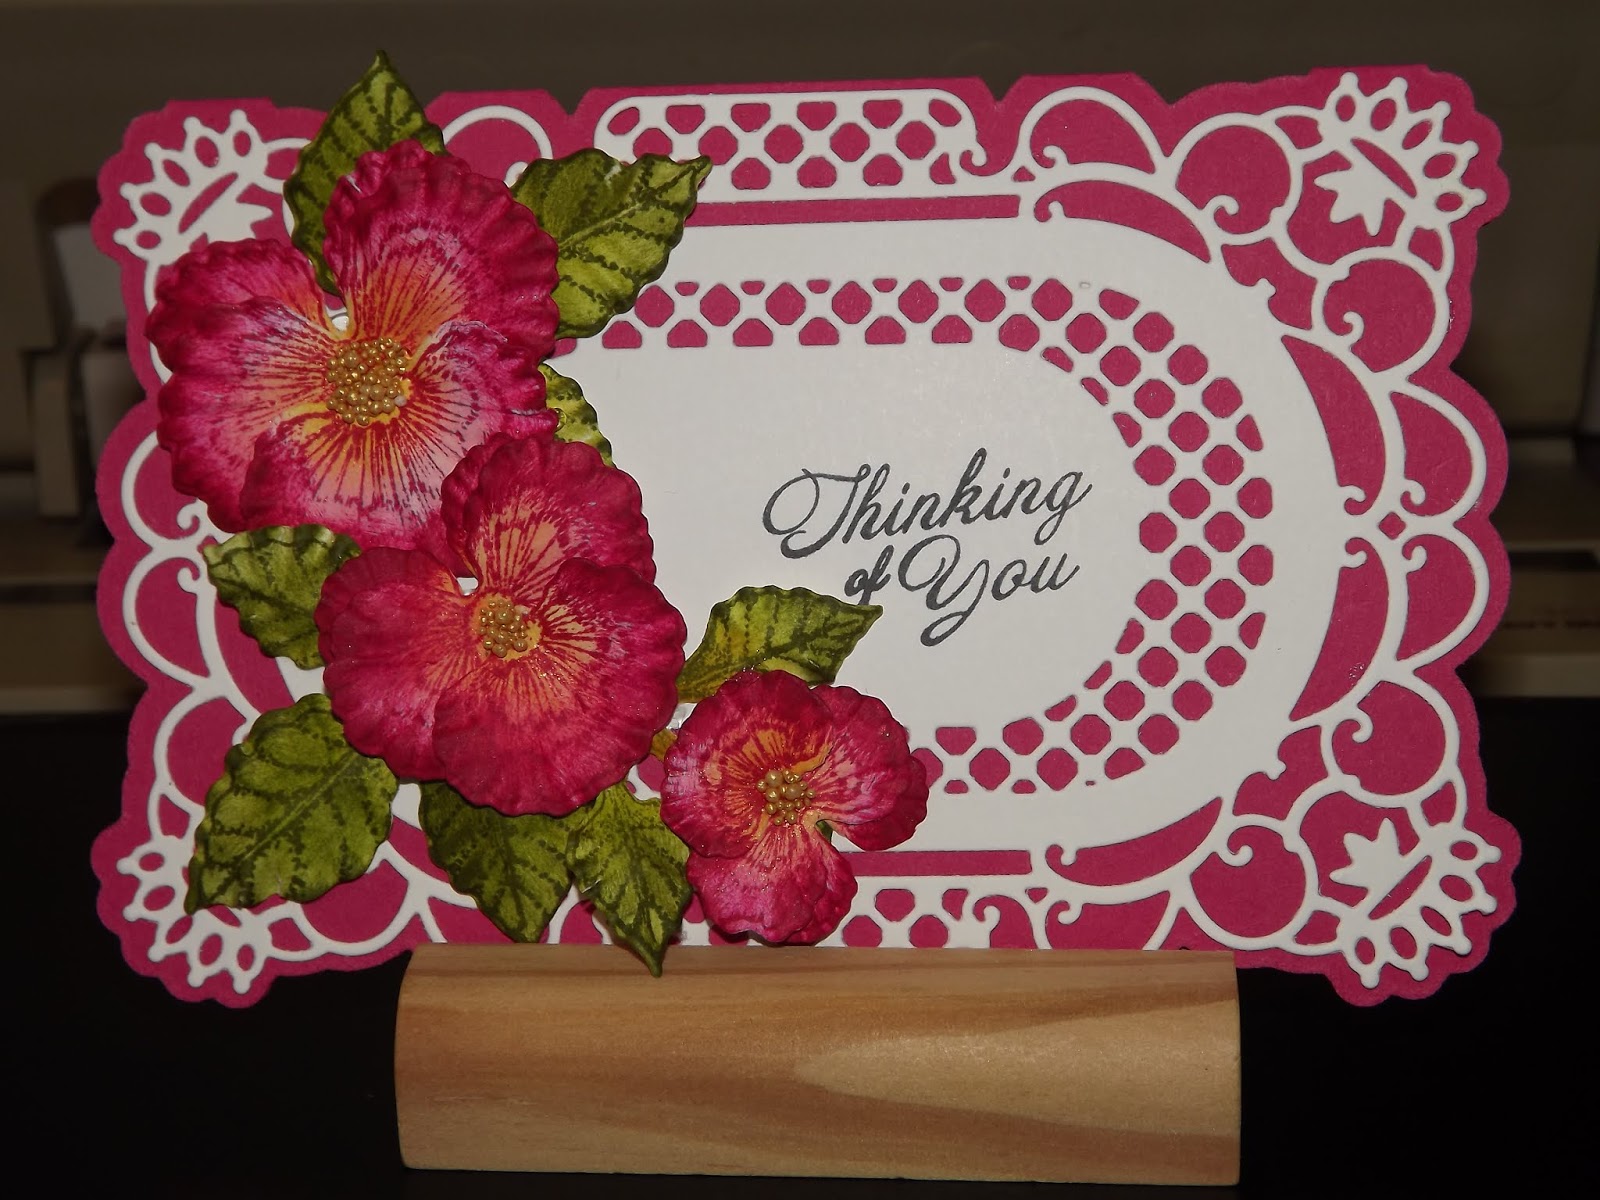
Pansies always stand for thoughts - so this comes to show my thoughts are there with you today!
Sunday, March 8, 2020
Sunday, February 23, 2020
Scratch-Off Valentine's Day Cards
Well, as they say - better late than never! I made these cute Valentine's Day joke cards for Jennifer to take to school and forgot to post them! I had actually seen them last year over at - Jennifer McGuire's website - but didn't get the material in time and was so proud of myself that I remembered to make them for her this year. It probably worked out for the best, as they are reading better and can appreciate them more. She gives you free downloads as well, which makes them so easy to put together which I needed this year as I was running out of time.
Here is an example of the download. On the video she does some foiling as well, which I did not do.
I cut them out and mounted them on Real Red CS to give them some stability.
These are the scratch off circles that I purchased from Inky Antics. They have a lot of different shapes and sizes as well.
All you do is apply one over the answer to the joke! There is even a little message to tell them to scratch there.
On the back, I used some washi tape and taped down a quarter to use to scratch off the joke answer. I thought they were so cute. I hope everyone had a great weekend. The weather here was so nice and warm especially for February. It can stay like this as far as I'm concerned.
Thanks for stopping by,
Nancy
Here is an example of the download. On the video she does some foiling as well, which I did not do.
I cut them out and mounted them on Real Red CS to give them some stability.
These are the scratch off circles that I purchased from Inky Antics. They have a lot of different shapes and sizes as well.
All you do is apply one over the answer to the joke! There is even a little message to tell them to scratch there.
On the back, I used some washi tape and taped down a quarter to use to scratch off the joke answer. I thought they were so cute. I hope everyone had a great weekend. The weather here was so nice and warm especially for February. It can stay like this as far as I'm concerned.
Thanks for stopping by,
Nancy
Saturday, February 15, 2020
Heartfelt Creations Notepad
I hope everyone had a great week and that you have some plans to celebrate Valentine's Day this weekend. A few of us are going out to dinner tonight, so I got out of cooking Joe's Valentine dinner!! When I was looking for something to make for Jennifer for this special day, I came across this really cute notepad that - Julie Scaparra made. She was making 100 of them for a wedding and after viewing them I knew Jennifer would love one. She is doing so well in 1st grade and loves writing in the Christmas notebooks I gave her. The notepad came together so quick and easy.
This is the front cover I made. I used Heartfelt Creations Sugarspun Collection DSP and the matching dies for the cupcakes and cherries, which I used 3D Crystal Lacquer to let them shine!
This is the inside of the pad. I used some more DSP and fussy cut the tag and little cupcakes to decorate and added a strip of cupcakes on the top of the pad. I like this tutorial so when you finish with the pad you can replace it with another one.
This is the back of the notepad again decorated with the DSP and a little note for Jennifer. Rachel and her boyfriend came up yesterday and saw it and wants one, so I think there will be more notepads in my future. She brought me these pretty red tulips for Valentine's Day as well as some goodies for Poppy.
The girls always loved this holiday as we made goodies for their friends and teachers. Later she sent me this picture of their Chihauhau Joey!
That dog lives like a King at their house!
I entered this post at - CardzTV Anything Goes Challenge #108.
Thanks for stopping by,
Nancy
This is the front cover I made. I used Heartfelt Creations Sugarspun Collection DSP and the matching dies for the cupcakes and cherries, which I used 3D Crystal Lacquer to let them shine!
This is the inside of the pad. I used some more DSP and fussy cut the tag and little cupcakes to decorate and added a strip of cupcakes on the top of the pad. I like this tutorial so when you finish with the pad you can replace it with another one.
This is the back of the notepad again decorated with the DSP and a little note for Jennifer. Rachel and her boyfriend came up yesterday and saw it and wants one, so I think there will be more notepads in my future. She brought me these pretty red tulips for Valentine's Day as well as some goodies for Poppy.
The girls always loved this holiday as we made goodies for their friends and teachers. Later she sent me this picture of their Chihauhau Joey!
That dog lives like a King at their house!
I entered this post at - CardzTV Anything Goes Challenge #108.
Thanks for stopping by,
Nancy
Sunday, February 9, 2020
Valentine Heart Treats
I saw these adorable foil hearts in SU's catalog and knew they would be perfect for the clients at the Wellness Center. I wanted to make the brownies that I saw on - Frenchies Blog - but ran out of time. Yes, the foil hearts can go in the oven!! So, I ended filling them up with the small and large candy hearts. They are a must for Valentine Day!!
I used SU's Sweet and Sassy Framelit Die and die cut white hearts and glued them to the cute red and pink doily hearts from SU.
I used an old stamp set from SU - P.S. - I Love you on the white hearts.
Then I filled up the foil hearts and put the lids on. They came together so quick and easy which is what I needed this year.
So they are all set to go.
My daughter picked them up tonight, so they are on their way!
Thanks for stopping by,
Nancy
I used SU's Sweet and Sassy Framelit Die and die cut white hearts and glued them to the cute red and pink doily hearts from SU.
I used an old stamp set from SU - P.S. - I Love you on the white hearts.
Then I filled up the foil hearts and put the lids on. They came together so quick and easy which is what I needed this year.
So they are all set to go.
My daughter picked them up tonight, so they are on their way!
Thanks for stopping by,
Nancy
Monday, February 3, 2020
Snowmen Hot Chocolate Treat Holder
I saw these adorable treat holders over on - Debbies Design Blog - and decided to make some for the kids. We are big hot chocolate drinkers around here and I knew they would love them. They have been hanging around on my desk hatless for awhile. There is so much going on around here that my craft room doesn't get many visits lately. Margaret and Dave got sick again with a bug, Jennifer got the Flu B that has been going around and Joe had to have some surgery last week. Thank goodness for Rachel and her boyfriend, as they drove us back and forth to the hospital since I don't drive anymore. He is doing well so things are getting back to normal. I got into my craft room finally on Sunday. I had to laugh as Groundhog Phil predicted an early spring as I sat and watched it snow. We got about 3" and today it is all melted as it is 55 degrees. The rest of the week is going to be cold and raining with snow. Crazy, crazy weather!!
Debbie found these cute snowmen over at - Ziplock - DIY - for anyone that wishes to make some. Both used glue to adhere the containers together. I had trouble with that, so I used my double sided tape. I used my 1/2" circle punch for the buttons and my 3/4" circle punch for the eyes. Using the doubled sided glue will come off and you can use the containers for something else. For the bottom container, I also put in some Keurig hot chocolate cups as well as the powder packets. Since I had some candy canes left over from Christmas, I broke them up into pieces and put some Hershey kisses in the second container for extra goodies.
For the third container, I filled it with miniature marshmallows. I made their hats from a 6" circle die I had and rolled some black CS for the top. I used my hot glue glue to adhere the ribbon on the hat and then to adhere it to the brim. It's hard to see, but the sentiment I hot glued says - Sweet Times Together that I found in some DSP CS from Heartfelt Creations. I loved how they turned out.
Now, I have to get my act together and make my Valentine Day goodies. Hard to believe that it will be here in less than 2 weeks. I'm just about done with winter, and we still have 2 months to go and it really hasn't been that bad.
Thanks for stopping by,
Nancy
Debbie found these cute snowmen over at - Ziplock - DIY - for anyone that wishes to make some. Both used glue to adhere the containers together. I had trouble with that, so I used my double sided tape. I used my 1/2" circle punch for the buttons and my 3/4" circle punch for the eyes. Using the doubled sided glue will come off and you can use the containers for something else. For the bottom container, I also put in some Keurig hot chocolate cups as well as the powder packets. Since I had some candy canes left over from Christmas, I broke them up into pieces and put some Hershey kisses in the second container for extra goodies.
For the third container, I filled it with miniature marshmallows. I made their hats from a 6" circle die I had and rolled some black CS for the top. I used my hot glue glue to adhere the ribbon on the hat and then to adhere it to the brim. It's hard to see, but the sentiment I hot glued says - Sweet Times Together that I found in some DSP CS from Heartfelt Creations. I loved how they turned out.
Now, I have to get my act together and make my Valentine Day goodies. Hard to believe that it will be here in less than 2 weeks. I'm just about done with winter, and we still have 2 months to go and it really hasn't been that bad.
Thanks for stopping by,
Nancy
Wednesday, January 22, 2020
Quilled Snowflakes & Storage Box
A few years ago, my craft of choice was quilling. At the time, they had classes at our local Michael's and my friend and I decided we would check it out - and we were hooked. This took up most of my craft time until my Mom passed, and I started scrapbooking all her family pictures and labeling people so future generations would know who all these people were in the black and white pictures!! I felt it was important to document our family's background. This of course led me to cardmaking and this blog.
I made a lot of quilled snowflakes for the family and the girls which they hang on their trees every year. These are very delicate, and of course I end up gluing them when they take them out of their storage bags. So I decided to make some pizza boxes to store them in to better protect them. Here are examples of two different styles that I made.
I always sprayed them with adhesive and them added some glitter to them. Here is one of the boxes that I made for them.
There are a lot of videos on Youtube showing how to made these cute boxes. I decided to make the one that PootlesPapercraft did which was 4" x 4". I had to make a few of them but hopefully they will be more secure.
I am trying to finish a cute project that I started making for the kids before I got sick, so I can then make some Valentine projects. I also want to thank everyone for their well wishes as well. I so appreciate all your comments and emails.
Thanks for stopping by,
Nancy
I made a lot of quilled snowflakes for the family and the girls which they hang on their trees every year. These are very delicate, and of course I end up gluing them when they take them out of their storage bags. So I decided to make some pizza boxes to store them in to better protect them. Here are examples of two different styles that I made.
I always sprayed them with adhesive and them added some glitter to them. Here is one of the boxes that I made for them.
There are a lot of videos on Youtube showing how to made these cute boxes. I decided to make the one that PootlesPapercraft did which was 4" x 4". I had to make a few of them but hopefully they will be more secure.
I am trying to finish a cute project that I started making for the kids before I got sick, so I can then make some Valentine projects. I also want to thank everyone for their well wishes as well. I so appreciate all your comments and emails.
Thanks for stopping by,
Nancy
Thursday, January 16, 2020
Sympathy Cards
Wow, I can't believe that almost a month has gone by since my last post!! Unfortunately, it has not been a very good month at that. Before Christmas our little Jennifer got sick with pneumonia and then Joe got a sinus infection. After Christmas my daughters and I all got bronchitis and then my son-in-law, Rachel and Sarah got the flu! What a mess! We haven't been that sick in a long time.
Right before Christmas a close friend of mine passed away suddenly. It was really a shock to her family and friends. We grew up together, got pregnant together and had a lot of good memories with our kids and families. She was a wonderful quilter and loved checking in on my blog to see what goodies I was doing. She will be missed! Then two weeks later her sister's husband passed away as well. As I started feeling better, I decided to make some sympathy cards using my Heartfelt Burst of Spring Collection as she knew how much I loved pansies and made me a beautiful pansy pin years ago which I treasure.
I also used Heartfelt Creations Royal Frame and Accent Dies for my base cards. I used SU's Whisper White, Melon Mambo and Highland Heather CS for my base cards.
I colored these pansies in SU's Melon Mambo, Pretty and Pink inks and Old Olive and Lemon Lime Twist inks on my leaves.
For these pansies, I used SU's Highland Heather, Gorgeous Grape inks and the same colors as above for the leaves. I also put some prills in the centers of all my pansies.
I used SU's stamp set Heartfelt Blooms for my sentiment on the front of the cards and SU's stamp set Better Together for the inside sentiment. I was really pleased how they turned out and I know she would have loved them as well.
Thanks for stopping by,
Nancy
Right before Christmas a close friend of mine passed away suddenly. It was really a shock to her family and friends. We grew up together, got pregnant together and had a lot of good memories with our kids and families. She was a wonderful quilter and loved checking in on my blog to see what goodies I was doing. She will be missed! Then two weeks later her sister's husband passed away as well. As I started feeling better, I decided to make some sympathy cards using my Heartfelt Burst of Spring Collection as she knew how much I loved pansies and made me a beautiful pansy pin years ago which I treasure.
I also used Heartfelt Creations Royal Frame and Accent Dies for my base cards. I used SU's Whisper White, Melon Mambo and Highland Heather CS for my base cards.
I colored these pansies in SU's Melon Mambo, Pretty and Pink inks and Old Olive and Lemon Lime Twist inks on my leaves.
For these pansies, I used SU's Highland Heather, Gorgeous Grape inks and the same colors as above for the leaves. I also put some prills in the centers of all my pansies.
I used SU's stamp set Heartfelt Blooms for my sentiment on the front of the cards and SU's stamp set Better Together for the inside sentiment. I was really pleased how they turned out and I know she would have loved them as well.
Thanks for stopping by,
Nancy
Subscribe to:
Posts (Atom)